Following on from Checklist for onsite supervision for screeding Tips 4 – 6 we present tips 7 -10.
7. Finishing
 Check that the finishing technique is appropriate for the final floor finish that will be used. Wood floating followed by steel trowelling can produce a smooth surface which is found to be satisfactory for most floor finishes.
8. Curing of screed
- For proprietary screeds, make sure if curing is necessary to prevent premature drying. Many proprietary screeds do not require curing.
- For traditional screeds that require polythene curing, ensure that the screeds are closely covered with polythene sheets immediately after installation.
- Ensure that the polythene sheets are kept in place for a minimum of 7 days. Follow manufacturer’s advice for proprietary screeds.
- Under conditions of extremely low temperature, ensure that the screed is protected with insulating quilts for 2 – 3 days.

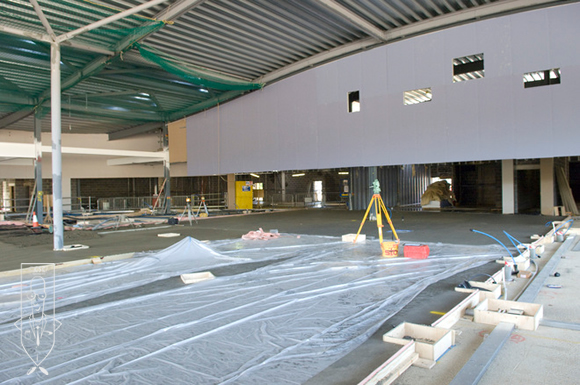
Curing of floor screed
9. Screed Protection
- Ensure that site traffic is regulated, and the proceeding of light foot traffic is allowed only after 48 hours of traditional screeds. Follow manufacturer’s advice for proprietary screeds.
- Even if light traffic is allowed to proceed, make sure the screed is protected from direct impact by protecting the screed using screed protection materials such as corrugated plastic, cardboard or reinforced paper. This should be retained until the screed is fully dry and ready for the final floor finish.
- Make an assessment of expected traffic, loadings etc in advance during building operations.

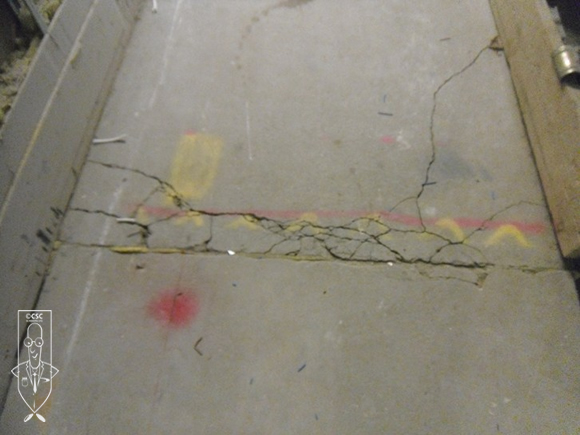
Why you need to implement screed protection measures
10. Screed Testing
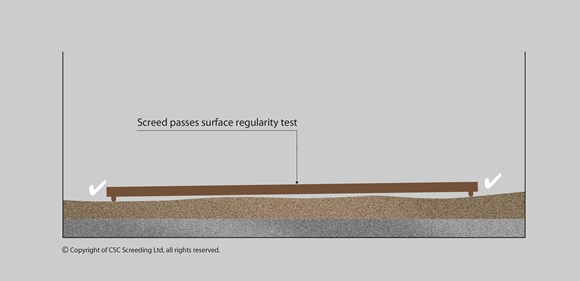
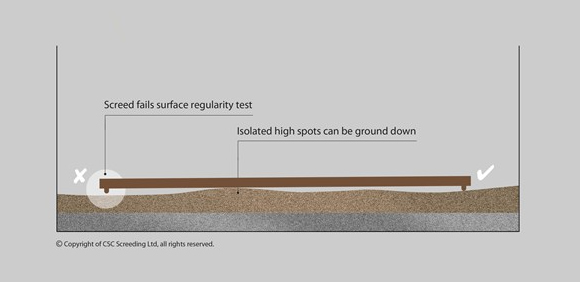
- Check the completed screed surfaces with a straightedge to make sure it complies with the specified tolerance levels.
- Ensure the screed is sound enough to take on the expected traffic using the BRE ISCR ( In-situ Crushing Resistance Test)

Floor screeding surface regularity pass

Floor screeding surface regularity fail
Join our newsletter and stay at the leading edge of screeding. (pun intended)


